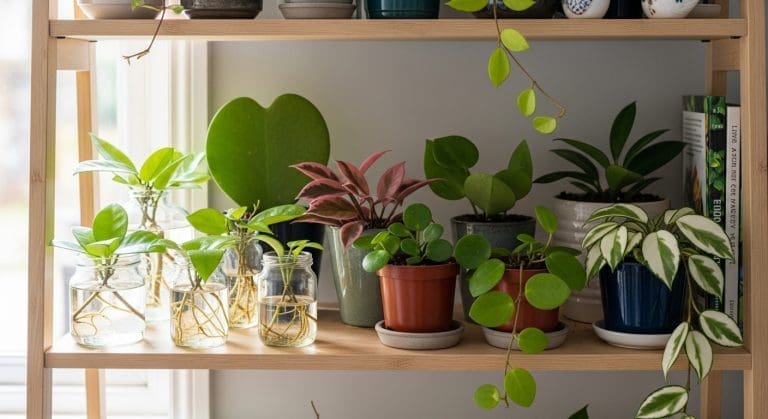
Ferns have a certain timeless charm — whether they’re trailing elegantly from a bookshelf or creating lush green corners in a home. If you’ve ever wished you had more of them without spending a fortune, learning to propagate your ferns is the answer. Propagation might sound technical, but with the right approach, it can be both fun and rewarding.
In this guide, we’ll explore two main propagation methods — division and spores — with practical tips to help you succeed in your own home.
Why Propagate Your Ferns?
Beyond the joy of growing new plants, propagation offers some big benefits:
- Saving money — you get more plants for free.
- Preserving rare varieties — especially useful for collectors of rare indoor ferns.
- Rejuvenating older plants — division can help revive a root-bound fern.
“Every time I divide one of my older ferns, it feels like I’m giving it a new lease on life — and I get a fresh plant to enjoy in another corner of my home.”
Can you divide this fern?
- Good candidates (clumping or creeping): Nephrolepis (Boston fern), Dryopteris, Athyrium, Cyrtomium, many Polystichum (divide clumps or sections of rhizome).
- Use caution: Asplenium nidus (bird’s nest) is a single-crown rosette—don’t slice a single crown. Only separate natural offsets if present; otherwise use spores.
Sources: RHS fern propagation overview; Clemson/OSU extensions on clump vs rhizome division; RHS note on Asplenium nidus rosette habit.
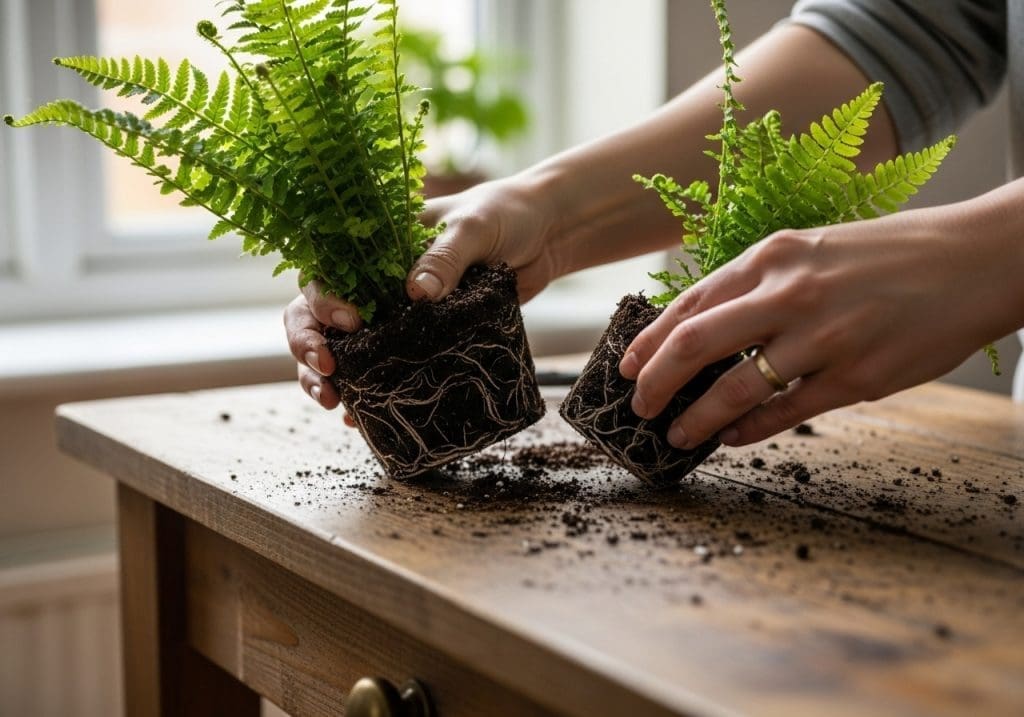
Method 1: Propagation by Division
Division is the easiest and fastest method of propagating ferns, especially those with clumping growth habits.
When to Divide
The best time to divide is in spring or early summer when the plant is actively growing. Avoid division in winter, as ferns are generally resting and won’t bounce back quickly.
Step-by-Step Division Process
- Water the day before. It loosens the root ball and reduces shock.
- Sterilize tools (10% bleach, rinse & dry). Plan natural splits: each division needs at least one crown + healthy roots.
- Lift and tease apart the root mass. For tight clumps, slice between crowns — never through a single crown (e.g., bird’s-nest types).
- Repot in a free-draining, peat-free mix (bark/perlite/coir works well). Keep crown at the original depth.
- Aftercare: bright, indirect light; leaf-level RH ~50–70% with gentle airflow; keep evenly moist, not waterlogged; wait 2–4 weeks for new growth.
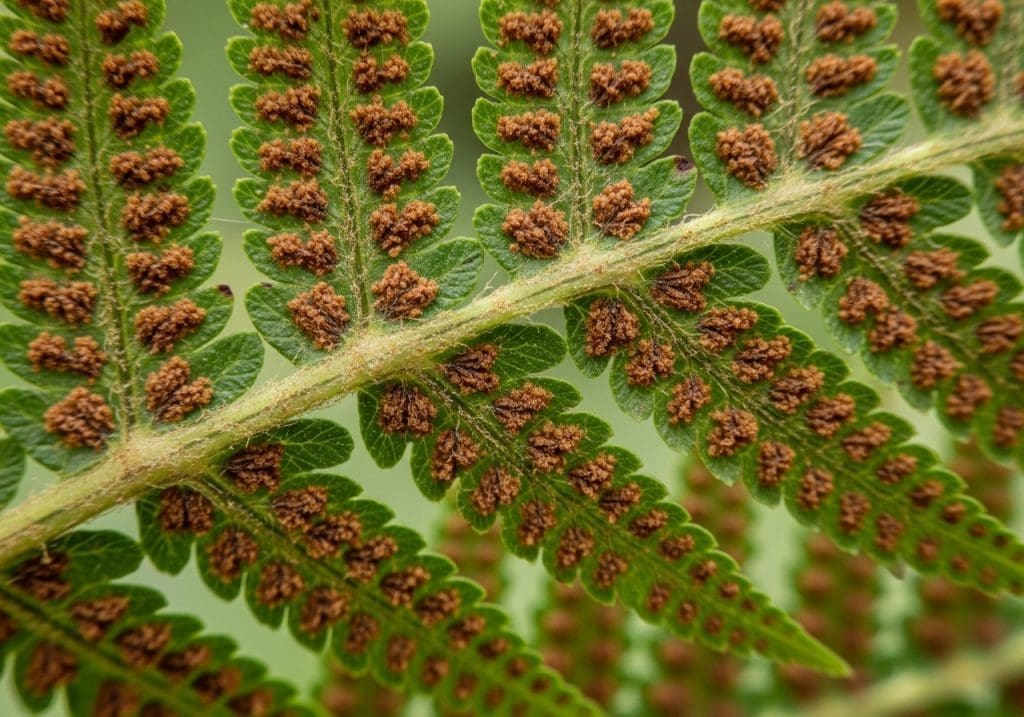
Method 2: Propagation by Spores
Spores are tiny reproductive cells found on the underside of fern fronds. This method is slower and requires patience, but it’s the only way to grow certain rare species.
A) Sterile setup checklist (add before “Collecting Spores”)
Sterile setup checklist
- Medium: fine, sterilised peat-free seed mix or milled sphagnum + perlite (shallow layer).
- How to sterilise:
- Oven: heat to ~180°F / 82°C for 30 min (covered).
- or Microwave: thoroughly wet medium, then heat until steaming (times vary).
- or Boiling water method: pour through a clean paper towel laid on the surface; let cool.
- Containers + tools: rinse with 10% bleach; air-dry. Use a tight, clear lid to exclude airborne spores/fungi.
- Water: use boiled-and-cooled or sterile water.
Sources: RHS spore-sowing (sterilised compost, cover with clear film); Brooklyn Botanic Garden (sterilise medium/containers; microwave/oven temps & 10% bleach).
B) “Timeline: what to expect” (add after “Sowing the Spores” list)
Timeline: what to expect
- Weeks 2–8: green film of gametophytes (prothalli) appears — keep a thin water film for fertilisation.
- Weeks 6–12+: tiny sporophytes (first true fronds) emerge — begin gradual ventilation.
- Potting on: prick out small clusters into sterile mix once sporophytes have 2–3 true fronds.
Reference: BBG spore guide (care/illumination & sterile practice); RHS (cover & thin sowing).
Collecting Spores
- Wait until the spore cases (sori) turn brown and start to open.
- Carefully cut a frond and place it in a paper bag for a few days so the spores can drop out.
- If collecting from your own fronds, briefly swish fronds in 5–10% bleach, rinse, dry, then place spore-side down on clean paper to reduce contaminants.
- Label packets with species, date, source; keep dry and cool until sowing.
Sowing the Spores
- Prepare a shallow tray with sterilised, fine-textured potting mix.
- Evenly sprinkle the spores over the surface — do not bury them.
- Mist gently and cover with a clear lid or plastic wrap to maintain humidity.
- Keep in bright, indirect light (see our light guide for ferns) at a temperature of around 70°F (21°C).
- Keep the lid closed for several weeks; open only to maintain a thin moisture film using sterile water — this is essential for fertilisation in the gametophyte stage.
Spore culture troubleshooting
| Symptom | Likely cause | Fix |
|---|---|---|
| Fuzzy white growth | Fungal contamination | Start over with sterile medium & tools; minimise lid opening; use boiled-cooled water. |
| Green slime/algae | Excess light or nutrients; contamination | Move to bright indirect light; sow thinner; ensure medium was sterilised. |
| No gametophytes after 8 weeks | Unripe/old spores; too dry | Resow with fresh spores; ensure constant humidity under lid; check temperature ~20–22°C. |
| Gametophytes present but no sporophytes | No water film for fertilisation | Mist surface with sterile water to create a thin film; keep covered. |
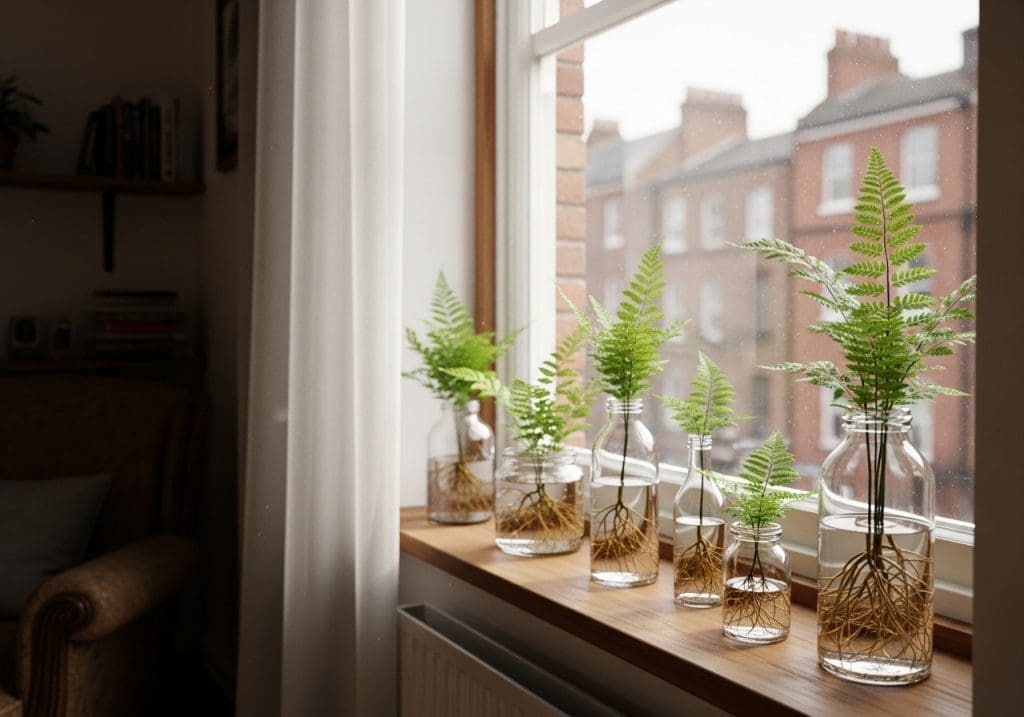
Caring for Your New Ferns
Whether you’ve propagated by division or spores, your young plants will need consistent care:
- Light: Bright but indirect sunlight to avoid scorching delicate fronds.
- Watering: Keep the soil evenly moist but never soggy. If you’re prone to overwatering, consider self-watering pots for ferns.
- Humidity: Maintain moderate to high humidity — ferns thrive in it.
- Feeding: After a few months, begin light feeding with a balanced fertiliser.
“It’s amazing how a tiny spore can eventually turn into a full, leafy plant — watching that transformation never gets old.”
Common Mistakes to Avoid
Even experienced plant keepers make a few missteps when propagating ferns:
- Overwatering new divisions — young roots are very sensitive to rot.
- Low light conditions — too little light slows growth significantly.
- Skipping sterilisation for spore propagation — fungus can quickly ruin a batch.
- Dividing single-crown ferns: never slice through a solitary rosette (e.g., bird’s-nest); only separate natural offsets if present.
- Skipping sterilisation for spores: contamination wipes out trays; sterilise medium/containers and use a tight lid.
According to Judith Jones at the Brooklyn Botanic Garden, “You don’t have to be a botanist to be successful at propagating ferns from spores.” Their step-by-step guide demystifies collecting, sowing, and raising spores — a solid reference if you’re attempting spore culture at home.
Read more: How to Grow Ferns from Spores
Propagating ferns might take patience, especially with spores, but it’s an incredibly rewarding process. You not only expand your collection but also connect more deeply with the fascinating life cycle of these ancient plants.
Change log: Aug 2025 — Added division caution box (clump vs single-crown); sterile spore setup & timeline; troubleshooting table; dual HowTo schema.

RarePlantCare Editorial Team produces expert content on rare plants.
Our articles are AI-assisted and human-edited before publication.
We aim to provide practical, evidence-based guides for plant lovers worldwide.
Learn more about our Editorial Policy