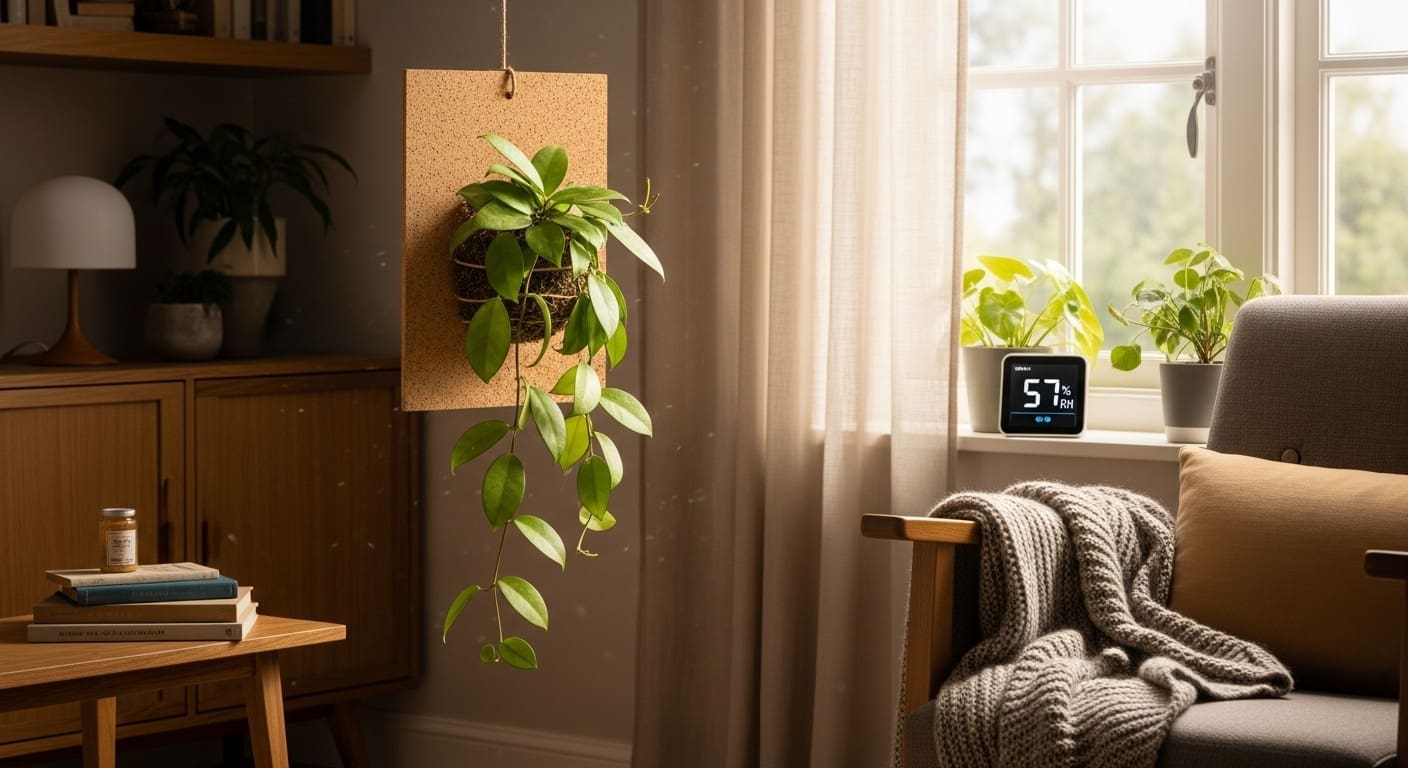
If your Hoya imbricata keeps stalling in a pot or refuses to “shingle,” the issue is usually setup—surface, moisture, and light rhythm—not luck. Mounting on a simple plank mimics how it grows in nature and unlocks those beautiful, overlapping leaves.
“I used to overthink fertilizer until I mounted it on a damp board with steady airflow. Within three weeks, it finally hugged the surface and started moving again.”
Quick answer: the core recipe
Mount on a sealed wooden plank (or cork), add a 1–1.5 cm layer of pre-soaked sphagnum, then pin the nodes (growth points) firmly to the surface so they make contact. Hold a steady microclimate for the first 2–3 weeks: RH 65–75%, bright-indirect light, and gentle airflow. Keep moss moist, not dripping; if leaves cup but don’t attach, tighten the ties and increase humidity slightly.
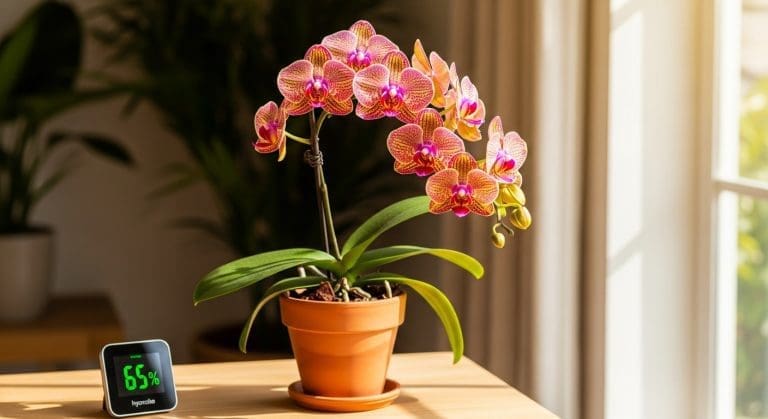
Want a refresher on bright-indirect targets and window placement? See our indoor light primer for orchids—its practical lux ranges translate well to epiphytes like Hoya. Best Light Conditions for Rare Tropical Orchids Indoors.
What “mounting” and “epiphyte” really mean
Mounting = fixing a plant to a vertical surface (wood, cork, Hygrolon) with a thin moisture-holding layer.
Epiphyte = a plant that grows on trees or rocks for support (not as a parasite), absorbing moisture from air/rain and the substrate surface.
Hoya imbricata is a classic epiphyte; it wants contact + humidity + airflow more than heavy soil. That’s why a board plus moss often outperforms a pot.
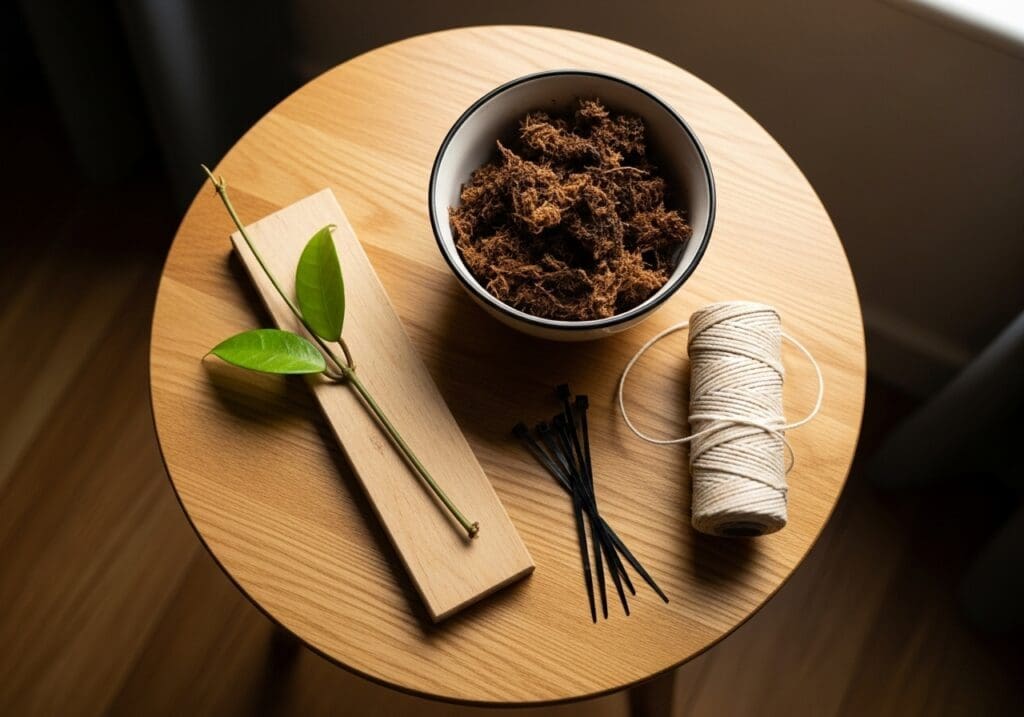
Materials (keep it simple)
- 20–40 cm plank (cedar, teak, cork slab); seal bare wood front with food-safe oil/wax to slow drying
- Sphagnum moss, rinsed and pre-soaked; squeeze to “damp sponge”
- Soft ties (garden tape, cotton twine) or a few zip ties + pads; optional fishing line for near-invisible pins
- Hook/Eye screw to hang; spray bottle; hygrometer; optional clip-on fan for gentle airflow
Step-by-step (plank method)
- Prep the board. Sand rough spots; seal the front face; attach a hanger.
- Hydrate the moss. Rinse, soak, then wring to even damp—no drips.
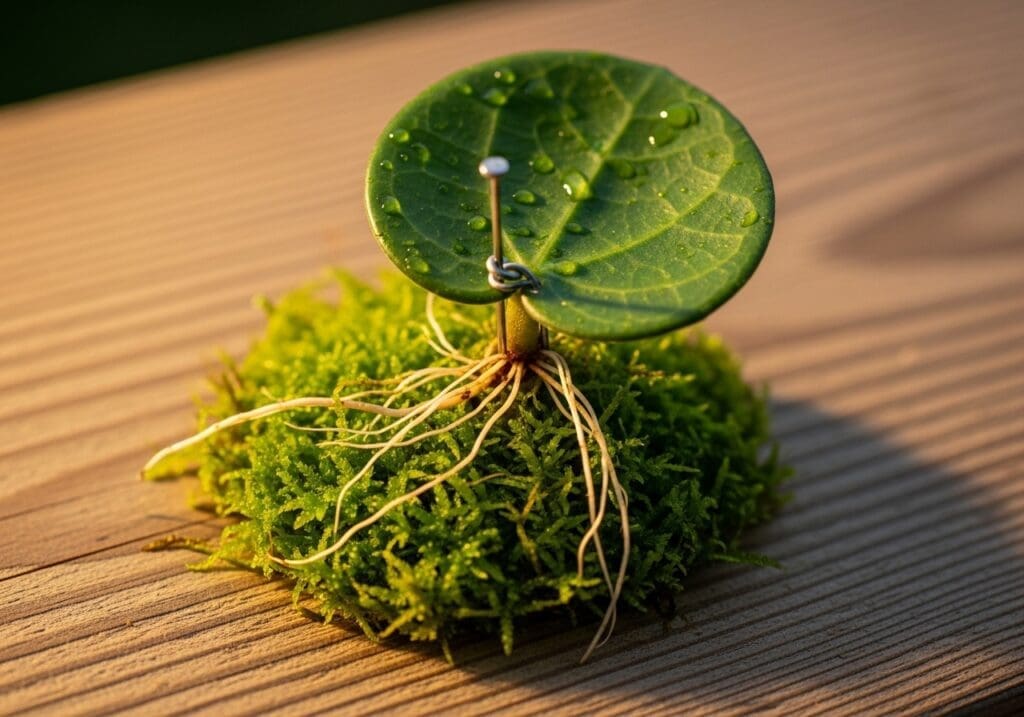
- Lay the bed. Spread 1–1.5 cm moss where nodes will sit (don’t smother leaves).
- Position the plant. Press active nodes flat to the moss; old leaves won’t flatten, new ones will.
- Pin it. Use soft ties or fishing line in gentle loops. The goal is firm contact without cutting tissue.
- Mist + hang. Mist the moss face lightly; hang in bright-indirect light with gentle airflow.
- Hold the climate. First 14–21 days: RH 65–75%, 20–26 °C; keep moss evenly moist.
- Loosen ties (week 3–4). When you see fine roots under leaves, slightly loosen or relocate ties to guide the next node.
“On dry winter days, I run a 10–15 minute humidifier burst each hour—small pulses are steadier than big spikes.”

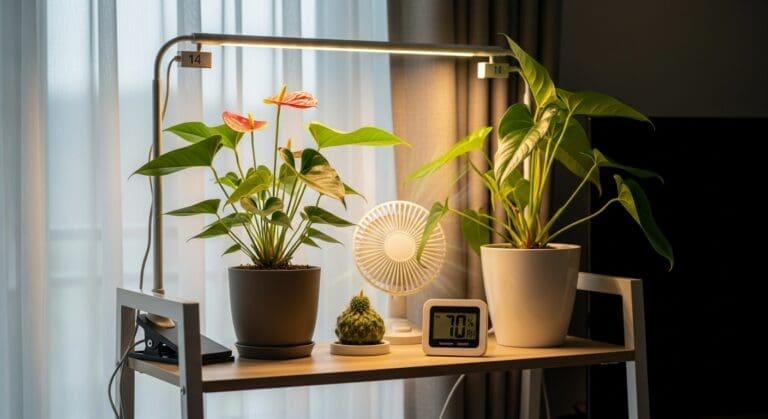
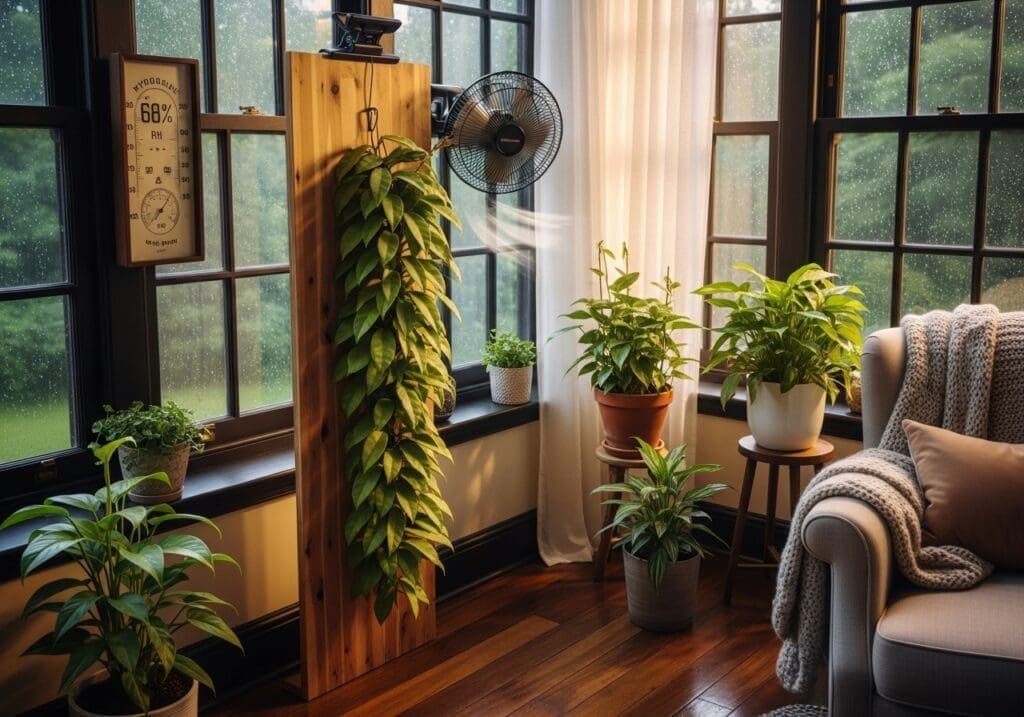
Light & humidity targets that work at home
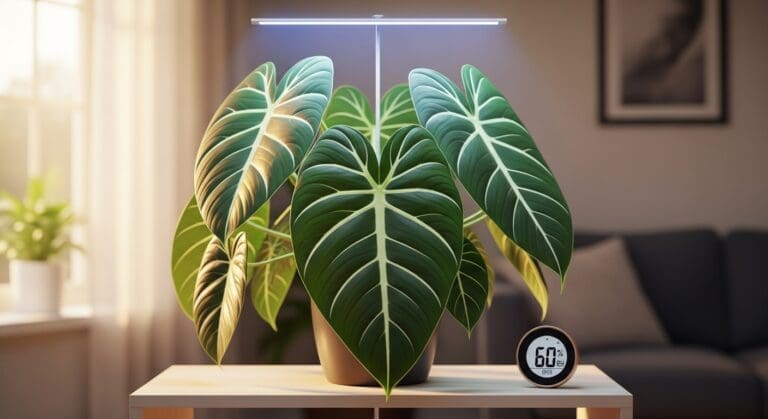
- Light: Aim for bright-indirect. Against a window with a sheer, keep the board 30–60 cm back, or under a 20–40 W LED bar at 30–45 cm above the leaves for a broad, gentle spread.
- Humidity: Start at 65–75% RH for attachment, then cruise at 50–65% RH with constant, soft airflow.
- Airflow: Point fans past, not at, foliage—the “ribbon test” should flutter lazily, not whip.
For a deeper dive into building stable leaf-level humidity zones (without soaking the whole room), our cloud-forest guide shows pragmatic, apartment-friendly setups: Cloud Forest Plant Care & Humidity at Home.
Watering & feeding on a mount
Keep moss evenly moist; let the surface look just-matte between mists. If edges crisp, you’re under-watering or airflow is too direct. Feed ¼–½ strength every 4–6 weeks in active growth. More fertilizer won’t force shingling—contact and humidity do.
If you like numbers, here’s a helpful, numbers-based care style (light/lux, mix, rhythm) from our Anthurium clarinervium profile; the principles translate even if the species differs: Anthurium Clarinervium Indoor Care: Lux, Mix & Water by Numbers.
Troubleshooting (if X → try Y)
- Leaves cup but won’t stick: Tighten ties slightly, raise RH to 70–75% for 5–7 days, then return to maintenance.
- Algae on moss: Reduce misting frequency; improve airflow; consider a thinner moss layer.
- Leaf edges tan: Light too intense in dry air—add a sheer, increase distance, or shorten LED photoperiod by 30–45 min.
- Stalled growth: Check node contact; if loose, re-pin the newest node rather than disturbing older leaves.
What I actually do in my apartment
I hang the plank 40 cm from a 30 W LED bar on an 11-hour timer. For the first month I keep 65–70% RH at leaf level with a small humidifier on 10–15 min/hour bursts and a low clip-fan crossing the room. After attachment, I cruise at 50–60% RH and mist the moss lightly every 1–2 days.
Expert insight
“Hoyas enjoy bright, indirect light, regular watering and warm indoor temperatures (around 16–24 °C).” — Royal Horticultural Society. That aligns perfectly with the plank method’s goal: steady warmth, gentle light, and moderated moisture, rather than heavy soil and boom-and-bust watering. Read more from the RHS on Hoya care here: RHS — Hoya care overview.
FAQs
Can I mount Hoya imbricata in low humidity homes?
Yes—use short humidifier pulses and constant airflow to hold 50–60% RH after the first month. For the first 2–3 weeks, aim higher (65–75% RH) for better attachment.
Is soil OK if I don’t want a mount?
It can grow in airy, epiphyte-style mixes, but the shingling look is much easier on a plank or cork where the nodes can root into a thin moss layer.
How close to a window should the board be?
Start 30–60 cm back with a sheer; observe the next leaf. If it stretches, inch closer; if margins tan, back off or add a sheer.
You don’t need a greenhouse to get that perfect “shielded leaf” look—just contact, moisture, and rhythm. Dial those in, and the plant will do the rest.

RarePlantCare Editorial Team produces expert content on rare plants.
Our articles are AI-assisted and human-edited before publication.
We aim to provide practical, evidence-based guides for plant lovers worldwide.
Learn more about our Editorial Policy